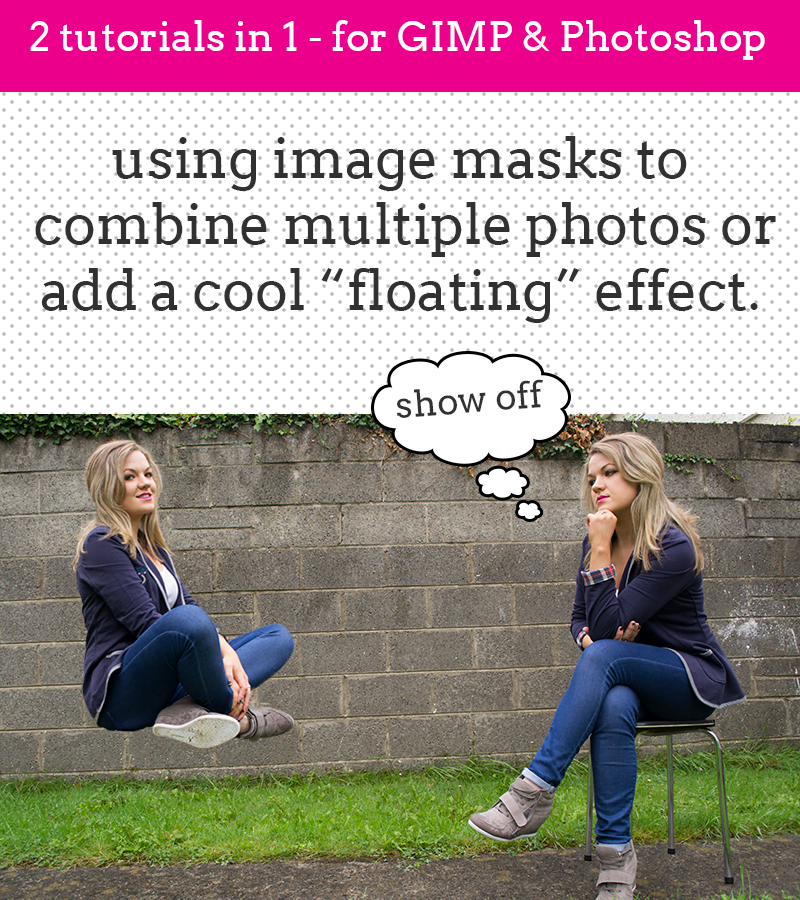
Todays tutorial will show you how to use image masks to combine multiple images, this was requested by the lovely Jessica over at Look What I Got and is great for fashion bloggers who want to show different angles of their outfits. I also show you how to use this technique to create a cool “floating” effect. For this tutorial I use GIMP which a free alternative to Photoshop (you can download it here), there’s also a quick tutorial for all you Photoshop users.
Alternatives to Photoshop/GIMP
Create multiple images in one with GIMP
- Take the photos! It is very important that the camera stays in the same position during this so use a tripod or steady surface. It is also important that the photos are taken in the same light. For this example, I took two photos but you are not limited.
- Open one of the images in GIMP, then add the other by going to File > Open and selecting your other photos. In the layer box, you’ll see each image. If you can’t see the layer box, make sure it’s visible by going to Windows > Recently closed docks > Layer.
- Select the top image by clicking on it in the layer box. Click Edit > Add Layer Mask.
- A box will pop up, choose the first option – white full opacity. Select the brush tool in the tool box which is usually situated on the left and choose the thickness in the box below it.
- Select the colour black and begin the paint over the areas around your object/person.
- With image masks, you can change between the colour black and white – black is erase and white is fill. If you make a mistake and erase a section you need, simply choose white and fill it back in by painting over the area.
- Now click Layer > Merge down and export your new image.
Create a floating effect in Gimp
- When taking photos for this tutorial, you need to take one of just the background and one of the object in front of the background.
- Open one of the images in GIMP, then add the other by going to File > Open and selecting your other photos. In the layer box, you’ll see each image. If you can’t see the layer box, make sure it’s visible by going to Windows > Recently closed docks > Layer.
- Select the top image by clicking on it in the layer box. Click Edit > Add Layer Mask.
- A box will pop up, choose the first option – white full opacity. Select the brush tool in the tool box which is usually situated on the left and choose the thickness in the box below it.
- Select the colour black and begin the paint over the object you are sitting/standing on to remove it, leaving the background visible as if the object is floating..
- With image masks, you can change between the colour black and white – black is erase and white is fill. If you make a mistake and erase a section you need, simply choose white and fill it back in by painting over the area.
- Now click Layer > Merge down and export your new image.
Photoshop users!
The same technique applies when it comes to using Photoshop, check out the tutorial below.
More GIMP tutorials
Check out more GIMP tutorials here including creating a polka dot or chevron background for your blog.

One response to “How to use image masks to combine multiple images or “float” effect”
you’re good!