There has been so many emails in my inbox during this pandemic asking about how to go about setting up a new WordPress site to test a new idea.
Installing WordPress on your computer allows you to try out ideas privately without needing a domain or web host or putting your site online for the world to see. Once you’ve tested it out, you can migrate to a live site. In this post, I’ll show you how to install WordPress locally on your computer using MAMP.
Here’s a breakdown of the steps involved:
- Download and install MAMP on your computer
- Run MAMP on your computer
- Create a new database for your WordPress test site
- Download WordPress to your computer
- Move WordPress into MAMP’s htdocs folder
- Install WordPress locally

1. Download MAMP
MAMP installs a local server environment on your macOS or Windows computer. It’s quick and easy to instal, and is free of charge (though you can upgrade to MAMP Pro if you like).
You can download MAMP from the MAMP website. Once downloaded, open the file and follow the on-screen instructions to install the application. This will install the free and paid version of the app, we’ll just be using the free version MAMP and not MAMP Pro.

After the installation, launch MAMP. You may want to configure some of the settings in MAMP Preferences.
2. Setup your database
WordPress needs a database to store all the site’s data. We need to create a database to install WordPress.
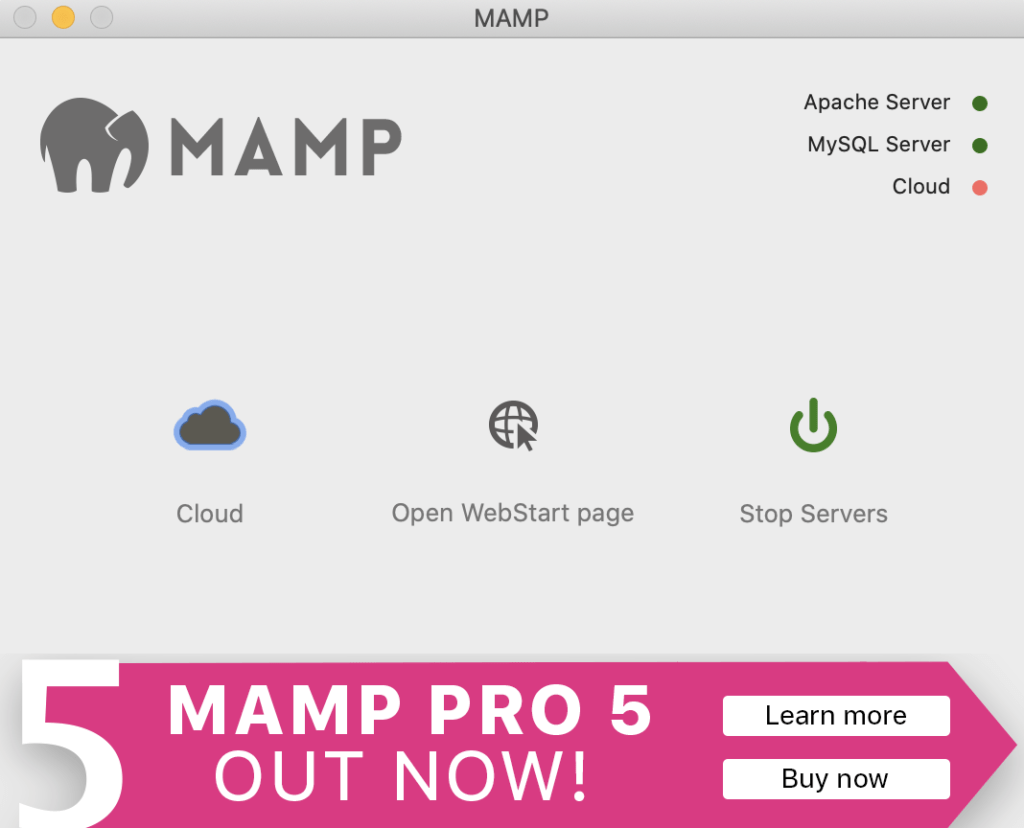
To do this, open MAMP which will start the servers and click the Open Web Start Page button.
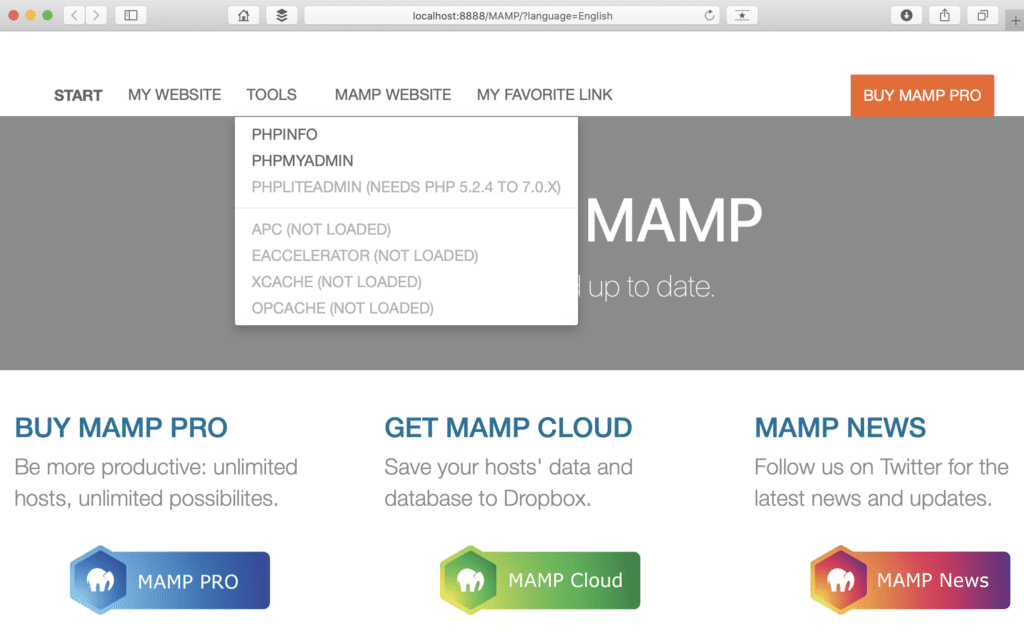
This will open the MAMP page. Click Tools and phpMyAdmin from the navigation menu. phpMyAdmin is a web-based application used to manage MySQL databases.
The phpMyAdmin page that has opened may look overwhelming, but I promise we’ll be quick!

We just need to click on Databases and then create a new database. You can name this database anything you want, like mynewsite, but make note of it because we’ll need it again.
3. Download WordPress files
Now that you have set up MAMP and a database, we need to download WordPress so that we can install it.
Visit the WordPress.org website and download a copy of WordPress. Once the download has finished, you will need to unzip it. You’ll now have a folder called wordpress filled with your WordPress files.
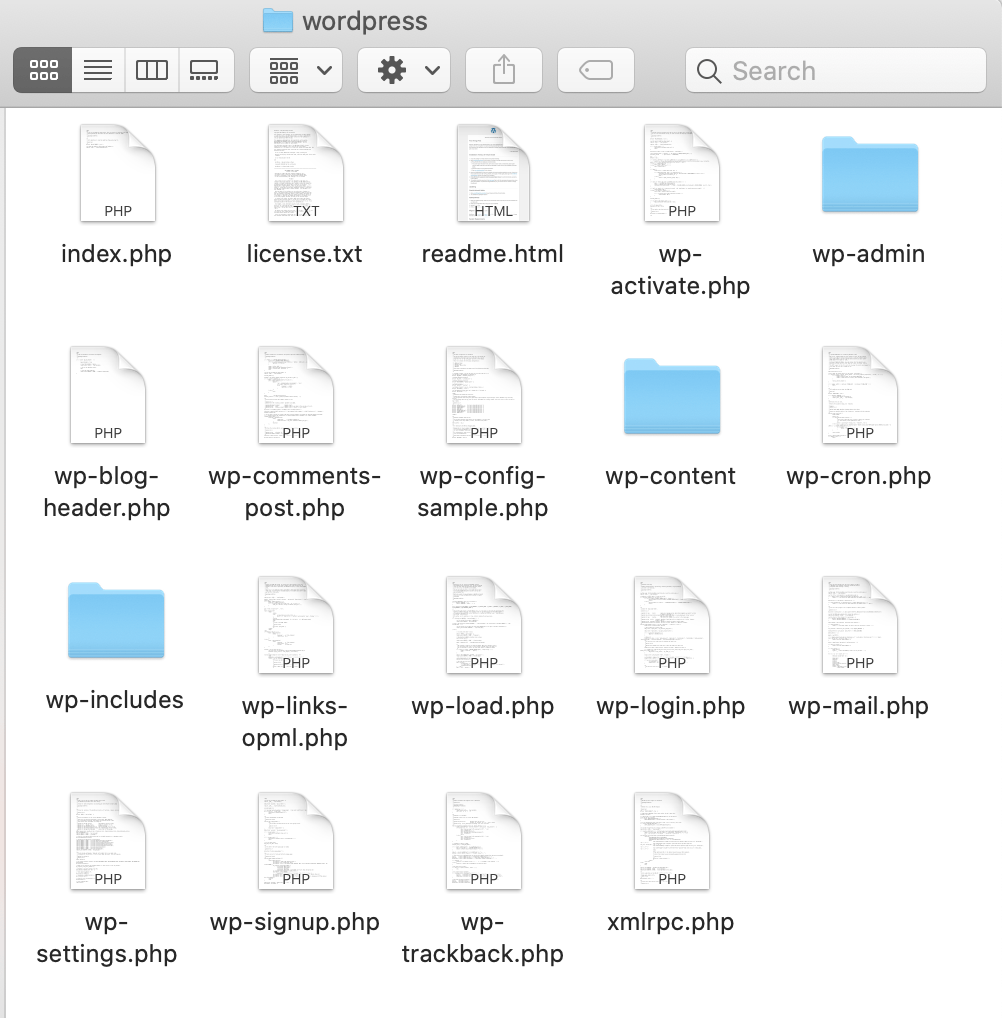
Locate your MAMP document root folder (by default on a Mac, this is at /Applications/MAMP/htdocs/) and add the wordpress folder to it. You can now rename the wordpress folder to anything you want like mytestsite or mybusinessname for example.

4. Instal and setup WordPress
Now that you have created the database and downloaded the WordPress, we can go ahead and install WordPress.
On the MAMP site from step 2 (clicking Open Web Start Page button on the MAMP application), we can now click My Website. This will vary depending on your settings but it will likely be the following address http://localhost:8888/MAMP/
Here you should see the wordpress folder you created (or whatever you renamed it to). Click on that link.
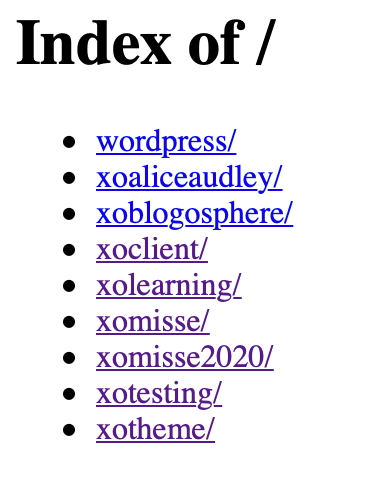
This will initiate the WordPress installation wizard process of selecting a language.
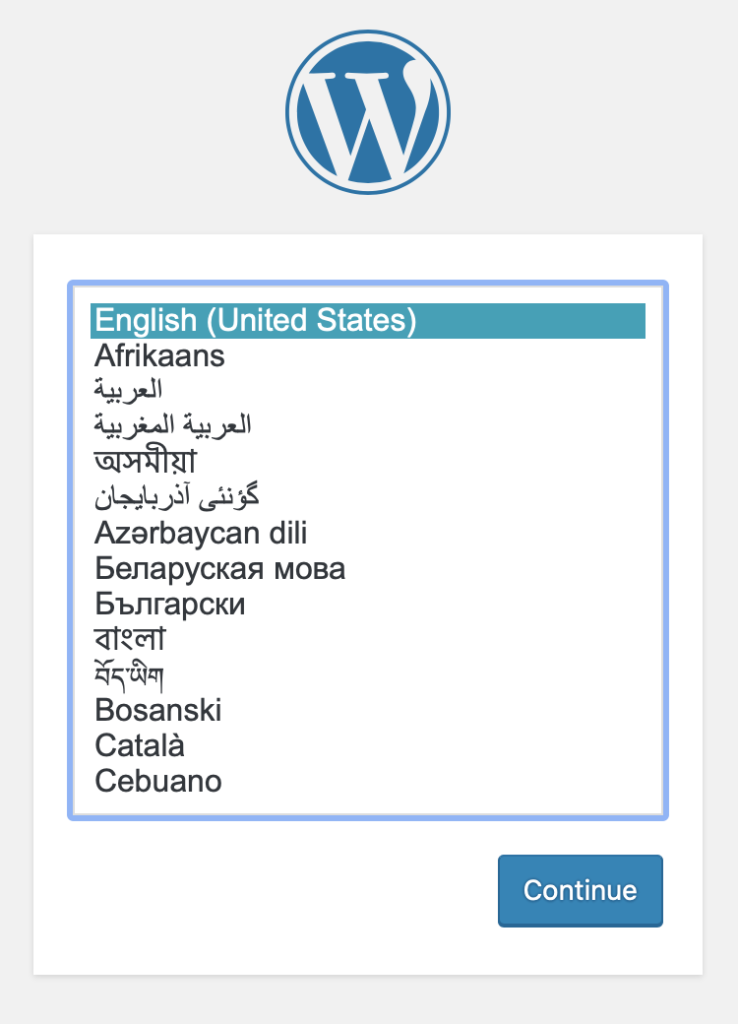
Select the language that you want to install and click on the continue button. Next, WordPress will tell you the information it is going to need from you. Click on the Let’s go button.
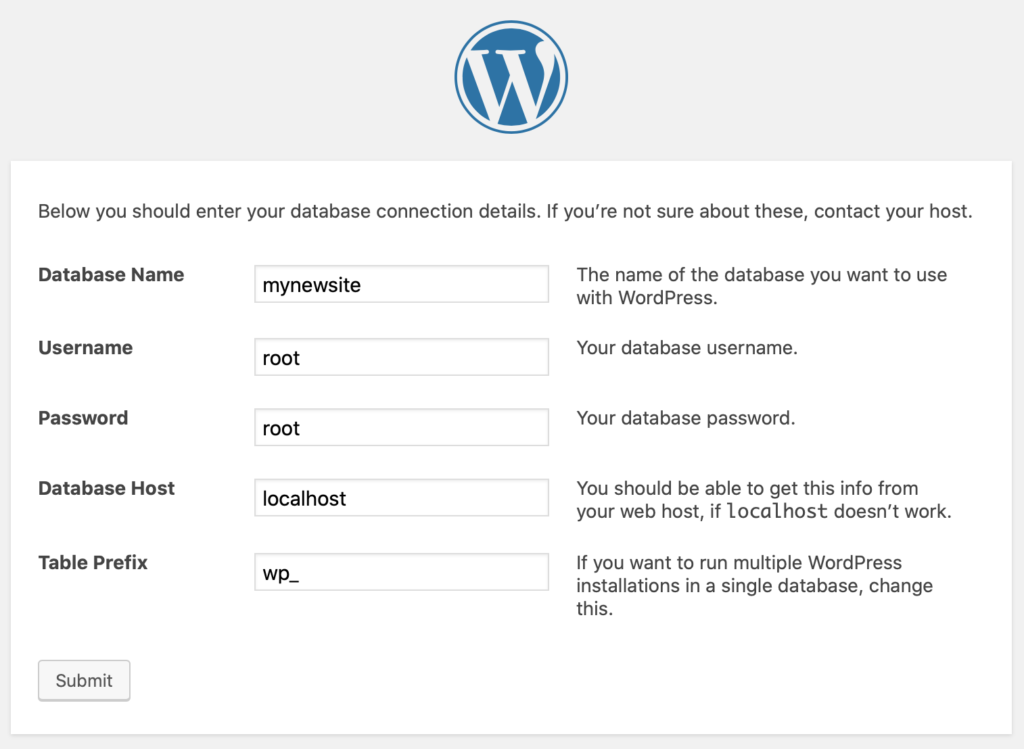
Now you will be asked to enter your WordPress database information. You already know the database name from step 2, which in my case was mynewsite.
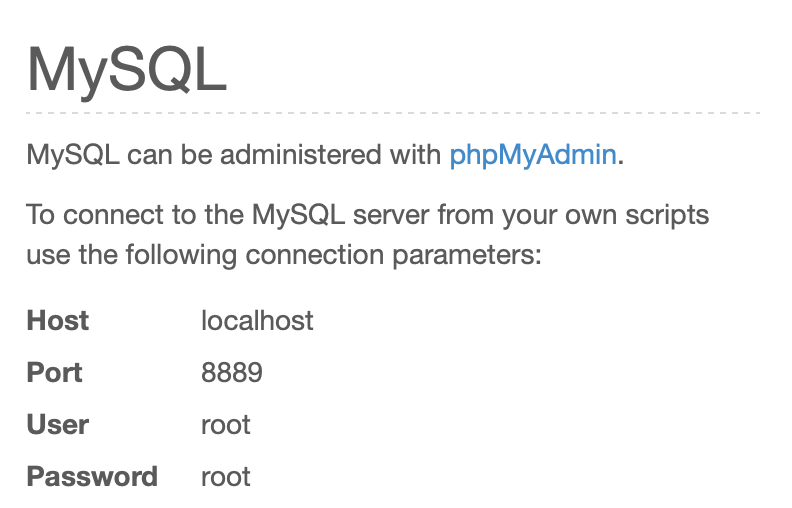
The database host (localhost), username (root) and password (root) can be found on the MAMP page from step 2. Once you are done, click on the submit button to continue.
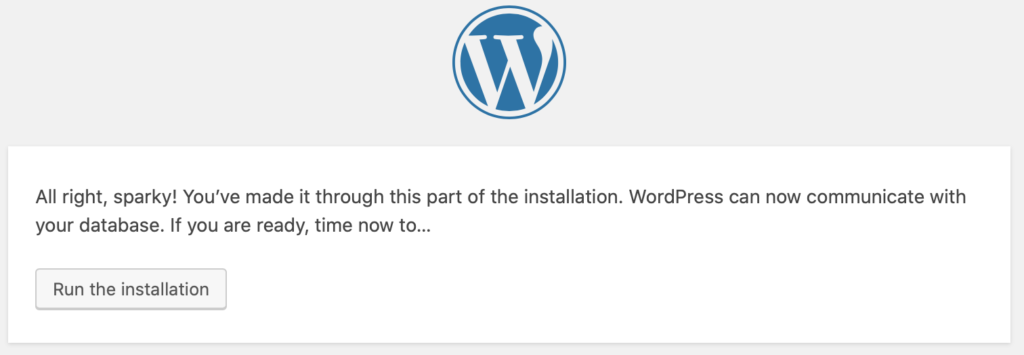
WordPress will connect to the database you created. It will then show you a success message. Click on Run the installation button to initiate the installation.
Finally, WordPress will ask you to provide your website information such as your site title, a username and password (make sure these are secure) and an email address.
Fill in the information and then click on Install WordPress button.
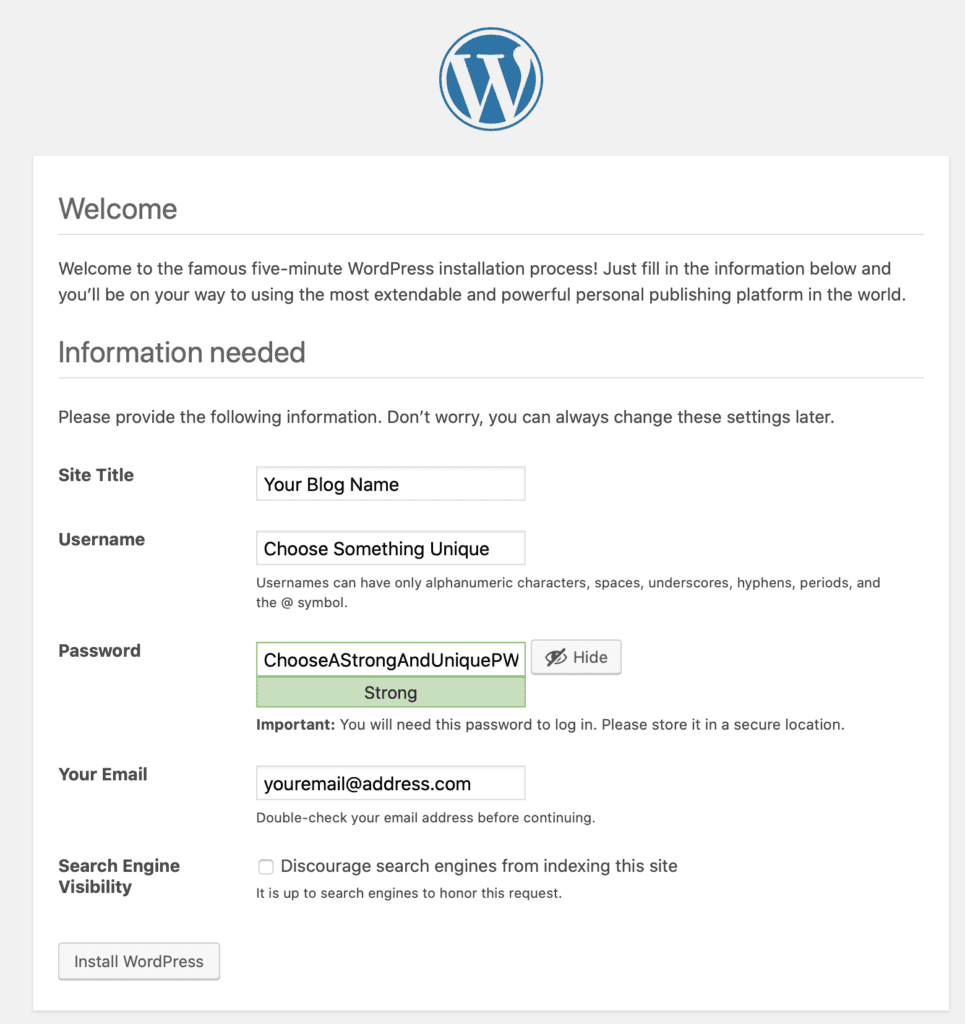
WordPress will now run the installation. Once complete you will see a success message and you can login to the WordPress site that is installed locally on your computer.
You can create multiple WordPress installs on your local server. Simply follow steps 2-4 above.
Want to login again? Turn on your MAMP server by opening the MAMP application and visit your localhost URL. Remember to stop the server on MAMP when you’re done.
Moving your local WordPress site to a live site
If you want to make your site live and allow other people to see it, you’ll need to move it off your local server on your computer and onto a live server. To do that you’ll need a domain name and web hosting. Or if you want a fresh live WordPress install, you can easily set that up in 5 steps.