One of the reasons WordPress powers more than 39% of the internet is down to its versatility.
WordPress uses more than just posts and pages to organise content. One way you can expand your site from being “just a blog” to being a flexible bespoke website is using custom post types.
In this post, I’ll explain exactly what custom post types are on WordPress, how you create them, how to display them on your site and why you would want to use them.

What are Post Types on WordPress?
Post types are ways of organising different types of content on your WordPress site. By default, WordPress comes with a couple of post types already. These are posts, pages, attachments, revisions, navigation menus, custom CSS and changesets.
Posts are dynamic content that can be updated regularly. You can add categories and tags to them, and they are designed to be displayed on your blog page and archive pages.
Pages are static content that provide information and aren’t regularly updated, for example your contact or about page. Pages can’t have categories or tags and aren’t designed to be displayed on archive pages.
Attachments are media items that have been uploaded to your site. Each attachment has its own attachment page with a unique URL. You can access them via the Media tab in the WordPress admin menu.
Revisions are saved versions of your post or pages. You can view the revisions by editing the post or page, opening the Document tab on the right and clicking revisions. It is recommend that you limit the number of saved revisions.
Navigation Menu links are saved in your database as an individual items.
Custom CSS that is added via the Customiser will be saved using the Custom CSS post type and will be linked to your current theme.
Changesets are similar to revisions but they apply to the Customiser. When you change something via the Customiser, it is saved as a changeset just like your posts are saved as revisions.
What are Custom Post Types on WordPress?
While you could technically add any type of content to a Post and sort it using categories or tags, this isn’t always ideal. With Custom Post Types you can separate your content. You can create your own custom post types and call them whatever you want.
Here are some examples:
- Reviews: You could create a movie review post type, that is separate to your normal blog posts. It could have custom fields for star ratings, actors and so on. And its own custom category structure for separating genres.
- Testimonials: Add a custom post type with custom fields for the testimonial, users name and website. You can then display this anywhere on your site statically or in a slider.
- Resources: Add a custom post type for resources, coupons or glossary that lists your content without being part of a blog post.
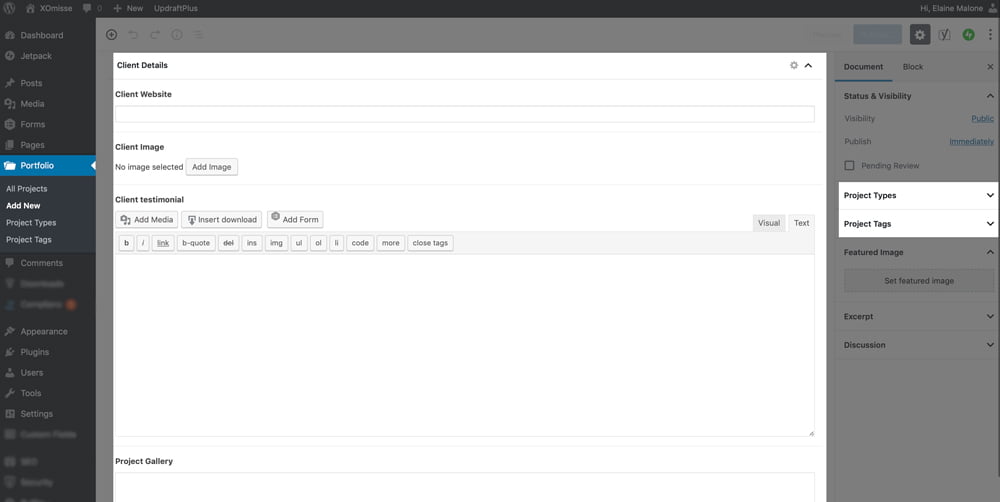
- Portfolio: You could create a portfolio post type, that has a separate archive page with custom fields for client details and custom category for separating the type of work. See my portfolio as an example.
You could also create a custom post types for Products, Events, Quotes, Podcasts, Recipes, or anything else you can think of.
WooCommerce is an example of a plugin that registers a Product Custom Post Type, as well as custom taxonomies and custom fields for you to organise your products, product categories and product tags.

How to create a custom post type on WordPress
The easiest way to create a custom post type on WordPress is by using a plugin such as Custom Post Type UI, Pods or Custom Post Type Maker. Keep in mind that you’ll need to keep this plugin activated for as long as you want the custom post type to be available.
If you’re comfortable writing code, then you can use the register_post_type() function to register your custom post type.
The recommended method is to add your custom post type code to your very own plugin, instead of adding it to your theme’s functions.php file. This is because if you change or update your theme in the future, you’ll lose the custom post type.
Once you’ve created your plugin, you can use the following code to register your custom post type. I’ve cover this fully in separate posts in the future.