I’ve received quite a few questions about adding a scalloped edge to your blog since uploading this premade template to the shop. Todays tutorial will take you through how to add a scalloped edge (BG2) to the content area of your blog which sits on top of your blogs background (BG1) as shown below. Use the same technique to add lace details, triangles or other shapes to your blog content. Leave your link and show me what you come up with.
Heads up! This post is no longer being updated, so some details may be out of date.

[postwarning]
This works best when there is no gap between the main content and the sidebar, like with the Simple & Ethereal Blogger Templates.
- Once you have selected a Blogger Template that is suitable, go to Layout > Choose your preferred layout. Then go to Adjust widths > Change entire blog width. Take note of the width. Keep in mind that you do need to see part of the background in order for the scalloped edge to be visible.
- Now go to Advanced > Background > Main Background and make it Transparent.
- Follow this post to remove the shadow around the content area.
- Change the background of your blog which will be behind the scallop edge.
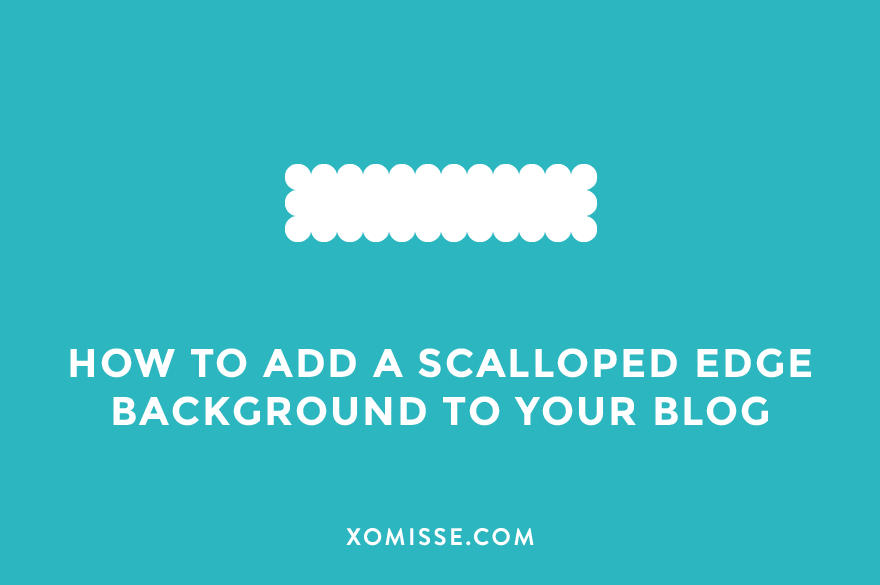
- Create an image similar to this one which is the same width as your entire blog width using PicMonkey, GIMP, Photoshop, etc. Export/save the image as a .png and upload it to an image hosting site such as Dropbox, Photobucket, Flickr.

- Now go to Template > Customise > Advanced > Add CSS and paste the following code adding in your link
/* scalloped background code */
.content-outer{ background:url('DIRECT IMAGE URL HERE'); } - To remove the gap below the footer, go to Template > Edit HTML > Search for
body {. Alter thepaddingvalue so that the third number is 0, like sobefore-
body { padding: 0 40px 40px 40px; }or it could look like –
body { padding: 0 $(content.shadow.spread) $(content.shadow.spread) $(content.shadow.spread);
  $(body.background.override) }
after –
body { padding: 0 40px 0px 40px; }or
body { padding: 0 $(content.shadow.spread) 0px $(content.shadow.spread);
  $(body.background.override) }
9 responses to “How to add a scalloped edge background to your blog”
I followed the instructions and the scallop is not showing up on the right side of the content area. It’s also not tiling properly. 🙁 Any idea how I can fix that?
See what I mean?
Thanks Ellie!
Nevermind! I actually figured it out–turns out all I had to do was change the blog width. 🙂
Thanks for the great tutorial!
Oh! Perfect 🙂 no problem, glad you got it working x
Hello, make sure your blog width and scallop edge image width are the same. You may need to adjust the size of your blog for it to fit properly 🙂 x
Sorry to bother again! I just noticed there is a little space near the foot of the blog where the image repeats. It will become a problem when the post area has more posts. Is there a way to remove the gap between the image tiles so it is seamless vertically?
Hello. That’s due to the image – there’s a space in between each scallop, but no space on the top or bottom of the image so when it repeats it’s joining them together. Does that make sense? I recommend creating an image similar to that shown above, with only 3 scallops and making sure it tiles properly. That way it’s a smaller file to load too 🙂
Problem solved! Thank you. 🙂 I really appreciate first off that you write these tutorials, but secondly that you actually take the time to help people who are having issues. It’s very kind of you. You rock! 🙂
Awh thank you very much 🙂 x
For Blogger I created my image on PicMonkey and saved it. Then I just uploaded it to the background image, top-center aligned it and then vertically tiled it!! I couldn’t get the code to work but this did!!